Nail clippers are one of those grooming tools most men use without thinking about what remains on them afterward. Small pieces of nail collect behind the cutting blades. Skin oils and moisture build up around the hinge, and a cheap clipper left on a wet bathroom counter can begin to rust long before the cutting edge wears out.
Cleaning is not complicated, but there is an important order. First remove visible debris, then wash the tool, then disinfect using guidance appropriate to the situation. Disinfectant applied over dirt is less reliable, and putting a damp metal tool back into a closed grooming kit invites corrosion.
The American Academy of Dermatology provides separate at home disinfection guidance depending on whether a person has nail fungus, a wart or another infection. It also advises against sharing nail grooming tools. That distinction matters more than an internet trick involving a random household liquid.
Why do nail clippers need cleaning?
Tool hygiene is one part of a consistent men’s grooming routine, alongside basic skin and nail care.
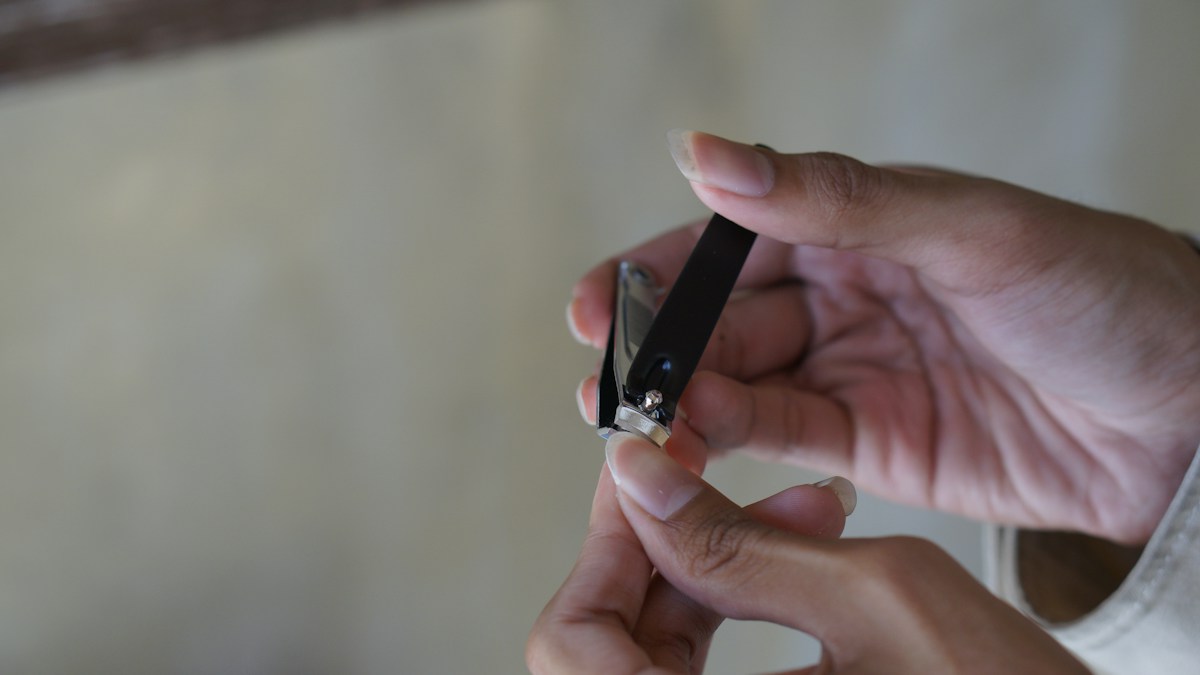
The cutting jaws touch nails and nearby skin. After clipping, tiny fragments can lodge near the lever and hinge even when the tool looks clean from a distance. Shared tools also create a potential route for spreading organisms associated with nail or skin infections. The American Academy of Dermatology specifically warns against sharing nail clippers because fungal infections can spread between people.
It helps to separate three concerns. Visible dirt and clipped nail fragments are a cleaning issue. Disinfection is a further step intended to reduce infection risk using appropriate procedures. Rust is a material care problem driven by moisture and storage conditions. One solution does not automatically solve all three.
Do not confuse a shiny surface with a clean cutting edge. Check the grooves around the pivot and inside the clipper head. Those narrow gaps often retain debris that a quick wipe across the top misses.
What should you gather before cleaning?
You need warm water, a small amount of soap, a clean brush suitable for the tool, clean drying cloths and the appropriate disinfectant for your situation. A cup or container reserved for tool disinfection may be useful when soaking is recommended. Keep that container away from food and children.
Check the nail clipper’s maker instructions before submerging it. Simple all metal clippers may tolerate procedures that tools with plastic grips, springs or attached accessories do not. If the product has a complicated attachment, follow its manual for safe disassembly rather than forcing the hinge apart.
Work on a stable, well lit surface. Wear suitable protection and follow label instructions when using household disinfectants. Never mix bleach with ammonia, acids or other cleaning chemicals. Chemical safety remains important even for a small grooming tool.
Step one: remove trapped nail debris
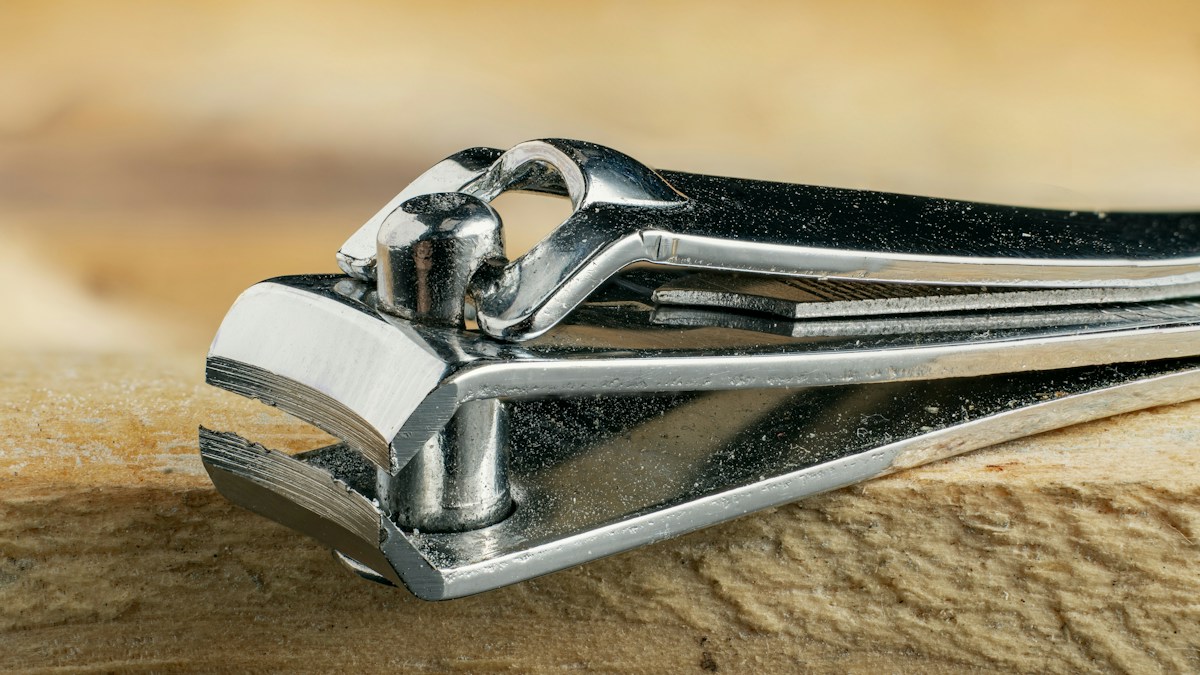
Open the clipper lever and inspect the cutting jaws. Tap loose fragments into the trash and use a clean small brush to reach the spaces behind the blades and around the hinge. Avoid scraping the cutting edge with a metal object, which can nick the blade or drive debris farther inside.
Do this before water or disinfectant. Dry clipped nail dust becomes harder to see once it forms a paste with moisture, and disinfectants may not contact every surface if debris remains in place. A minute spent clearing the head improves the rest of the process.
If fragments appear trapped beneath a rivet or inaccessible spring, do not try to pry the entire mechanism apart unless it was designed for that. Replace a damaged or impossible to clean tool rather than injuring your hands while attempting a repair.
Step two: wash the clippers with soap and water
The American Academy of Dermatology recommends washing clippers with warm water and soap before disinfecting. Use a clean small brush to work around the jaws, underside and pivot where oils and debris collect. Rinse in clean water as appropriate for the tool’s construction.
Avoid unnecessarily prolonged soaking in ordinary water. More time submerged does not make a metal tool inherently cleaner and may encourage water to sit in the joint. If the clipper has special coatings or handles, check for restrictions before running water through it.
Inspect the cutting face in bright light. If visible residue remains, wash again rather than trying to cover it with alcohol. Cleaning prepares the surface for the next step; it is not a substitute for one when disinfection is indicated.
Step three: disinfect according to the situation
For the specific ratios and infection-related precautions, consult the American Academy of Dermatology’s home nail-clipper disinfection guidance. Do not mix bleach with other cleaning chemicals.
For routine home use when there is no nail fungus, wart or other infection, the AAD’s nail fungus prevention guidance recommends 70 percent rubbing alcohol. It says the clippers may be wiped or soaked, with a five minute soak when that method is used. Follow the product label and the clinician’s instructions for your specific circumstances.
The same AAD page gives a different procedure when nail fungus, a wart or another hand or foot infection is present: combine one cup of water with one tablespoon of bleach in a clean dedicated cup, soak clippers for five minutes and then let them dry completely. Prepare and handle bleach safely, never mix it with other cleaners and follow the product’s safety guidance.
If you are treating an active infection or sharing equipment for professional services, do not improvise from a home checklist. Healthcare and salon equipment can require different infection control protocols. Ask the relevant professional for the correct procedure.
| Situation | Home disinfection guidance | Caution |
|---|---|---|
| No identified nail infection | 70% rubbing alcohol, wipe or five minute soak | Clean with soap first and dry after |
| Nail fungus, wart or another infection | 1 tablespoon bleach plus 1 cup water, five minute soak | Dedicated clean cup; observe chemical safety and dry after |
| Professional tools | Use applicable professional infection control protocols | Do not copy home process without approval |
Why does drying matter so much?
Even after correct cleaning, water can remain trapped between the lever, pivot and jaws. Closing and storing the clipper while wet creates a long period of contact between moisture and metal. That is a practical reason to dry the tool thoroughly before it goes back into the kit.
Place the clean clipper on a dry towel with its moving parts open enough to air dry. A separate cloth may remove surface droplets, but do not assume the hinge is dry just because the visible exterior has been wiped. Choose an airy location and give the tool time to dry completely.
Do not expose it to direct flame or extreme heat to speed the process. Excessive heat can damage coatings, handles and spring parts. Routine air drying is simpler and usually more appropriate than aggressive methods.
How to prevent rust on nail clippers
Other personal-care tools need regular cleaning too, including the beard brush, though cleaning methods differ by material.
Store dry clippers away from the edge of the sink, shower spray and wet towels. A ventilated drawer or grooming case is better than a sealed damp pouch. If you take a grooming kit to the gym or on trips, let the metal tools dry before closing the bag for days at a time.
Inspect for discoloration periodically. Surface staining can sometimes be confused with a coating mark, while deeper rust may pit the cutting face or interfere with the hinge. A corroded clipper may no longer cut cleanly or be easy to disinfect thoroughly.
Do not coat the cutting jaws with arbitrary oils or anti rust chemicals that may contact your nails or skin. If the manufacturer recommends a particular maintenance lubricant for a hinge, use it only as directed. When the edges are pitted or the mechanism binds, replacing the tool is often safer than restoring it with uncertain products.
Can you use rubbing alcohol on every clipper?
Not every material responds identically to alcohol. Plain metal clippers generally differ from products with painted coatings, rubber grips or decorative parts. Follow the maker’s care guidance and, where relevant, the AAD’s recommended disinfection procedure rather than choosing the strongest concentration available.
More concentrated alcohol is not always better. The AAD specifies 70 percent rubbing alcohol for routine nail clipper disinfection in its infection prevention advice. That provides a more grounded reference than relying on vague claims that a splash of high proof liquid makes any tool sterile.
If the tool came into contact with an infection, the recommended route can change. Keep a dedicated personal clipper and ask a dermatologist for guidance if you are unsure about a persistent nail problem.
Should fingernail and toenail clippers be separate?
A broader men’s foot-care routine can help you recognize when cleaning is not enough and professional assessment is appropriate.
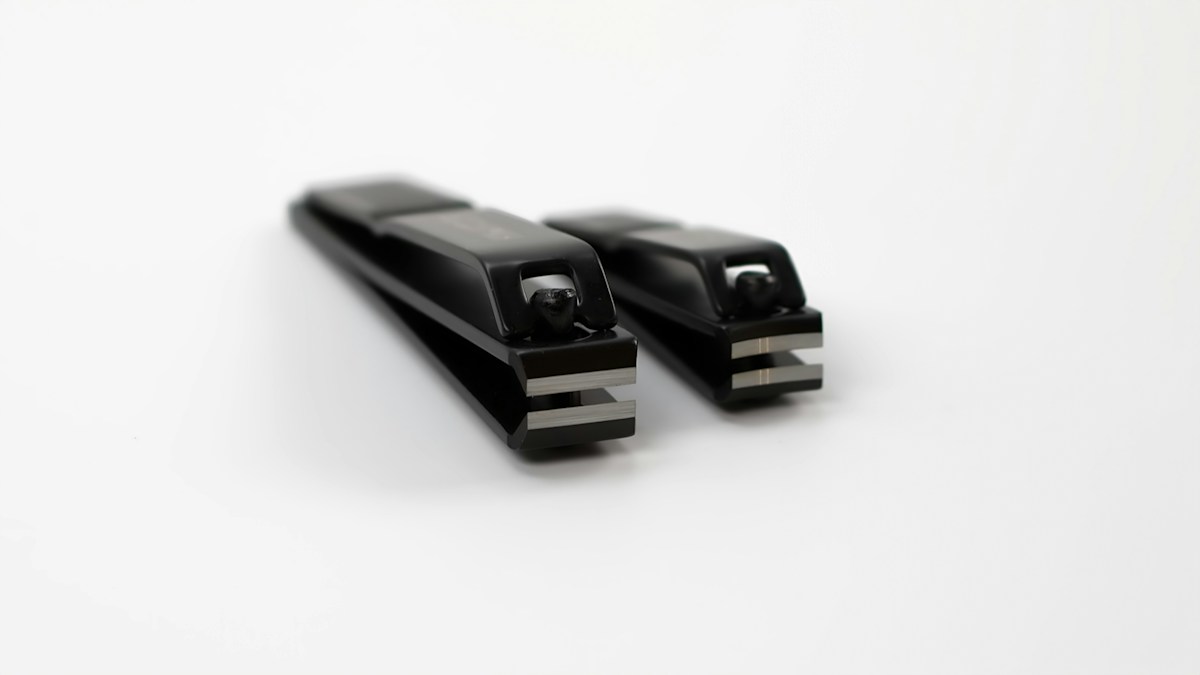
The AAD suggests using appropriately sized tools for fingers and toes. Having separate clippers can also make routine care easier, especially if toenails are thick or if a foot has a suspected fungal problem. The larger issue is not sharing contaminated tools or carrying debris between affected and unaffected nails.
Use the right cutting edge for the nail rather than forcing a tiny clipper through a thick toenail. Damaged blades can pinch or split the nail, creating a new problem unrelated to cleaning. Do not cut into skin around the nail just to achieve an extremely close trim.
Our [men’s foot care guide](https://modernmenhq.com/grooming/mens-foot-care-guide/) covers a broader daily foot hygiene routine. The important principle is straightforward: each part of a grooming kit should have a clear use and be clean before the next session.
When should you replace nail clippers?
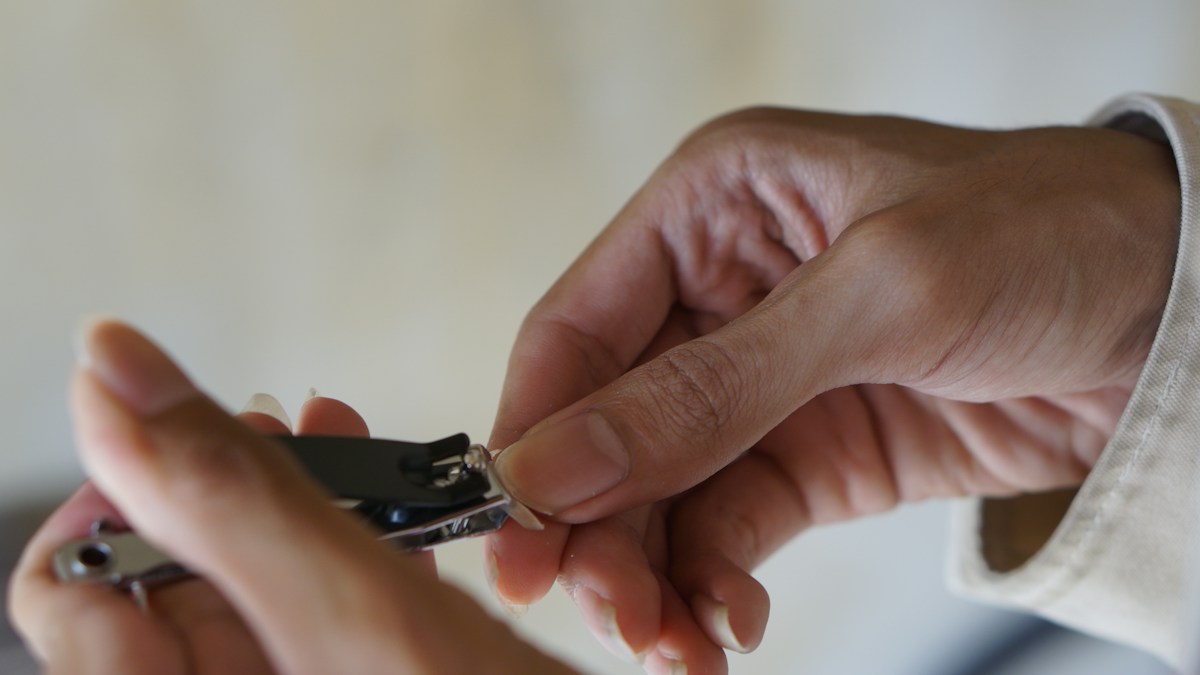
Replace them when the cutting jaws no longer meet cleanly, the hinge sticks, deep corrosion appears or the tool cannot be cleaned properly. A dull or misaligned clipper can pull and crush a nail instead of trimming it, even if the outside has been polished to look new.
There is no need to throw away a well functioning tool on an arbitrary monthly schedule. Check its condition regularly and maintain it through cleaning, disinfection as appropriate and dry storage. If the clipper is a cheap disposable design with hidden grime and worn jaws, replacing it may be more sensible than a complicated restoration.
For more on building a practical kit rather than buying unnecessary extras, see our [men’s grooming routine](https://modernmenhq.com/grooming/mens-grooming-routine/). The right goal is a few useful tools kept in dependable condition. The same principle applies to other grooming equipment, such as our [guide to cleaning a natural-bristle beard brush](https://modernmenhq.com/grooming/clean-beard-brush-natural-bristles/), where the material calls for a different cleaning method.
When is a nail problem more than a cleaning issue?
If nails become persistently thickened, discolored, painful, detached or otherwise unusual, do not assume dirty clippers are the only cause. Nail fungus, injury and several skin or health conditions can change nail appearance. A dermatologist can assess what is happening and whether treatment is needed.
The AAD notes that nail fungus can spread and does not reliably clear on its own. Home tool sanitation matters, but it is not treatment for an existing infection. Do not use unproven substances on damaged skin or attempt to cut away infected tissue aggressively.
If you notice signs of infection or have diabetes, poor circulation or reduced sensation in the feet, appropriate medical advice matters particularly when trimming or treating a problem. Routine grooming is helpful; it should not become a substitute for care when symptoms require assessment.
Frequently Asked Questions
Can you clean nail clippers with alcohol?
The AAD recommends 70 percent rubbing alcohol for routine disinfection when no nail fungus, wart or other infection is present. Clean with soap and water first.
How long should clippers soak in rubbing alcohol?
The AAD’s home advice specifies five minutes when soaking in 70 percent rubbing alcohol. Follow product and maker instructions.
Can boiling water disinfect nail clippers?
Do not assume boiling is the correct method for every tool or infection. Follow established disinfection guidance and the manufacturer’s material limits.
Should you disinfect clippers after every use?
The AAD’s nail fungus prevention advice recommends disinfecting after each use. This is especially sensible when protecting against infection spread.
Can rusty nail clippers be cleaned and reused?
Minor discoloration differs from deep corrosion. Replace clippers with damaged blades, pitting or mechanisms that no longer clean and cut reliably.
The bottom line
A dependable pair of nail clippers should be clean enough to use and sharp enough to cut without tearing. Follow the dermatologist’s order: remove debris, wash, disinfect for the relevant situation and dry completely. With proper storage, a small grooming tool can remain useful without becoming a neglected source of grime.