A hairbrush collects loose hair, scalp oil, dust and the residue of styling products. Pulling out the visible hair is only part of cleaning it. The correct method depends on whether the brush has plastic, natural bristles, a wooden handle or a cushioned base that traps water. If the residue is being transferred from clay or pomade, see how to remove hair styling product buildup without overwashing your scalp.
Never soak wooden or cushioned brushes unless the manufacturer permits it. Water can remain in a pad or loosen adhesives long after the outer bristles look dry.
What to Check First
Check the materials and the manufacturer’s cleaning restrictions before choosing your method. Preventing damage matters as much as removing residue.
- Why cleaning matters
- Remove trapped hair first
- Identify brush construction
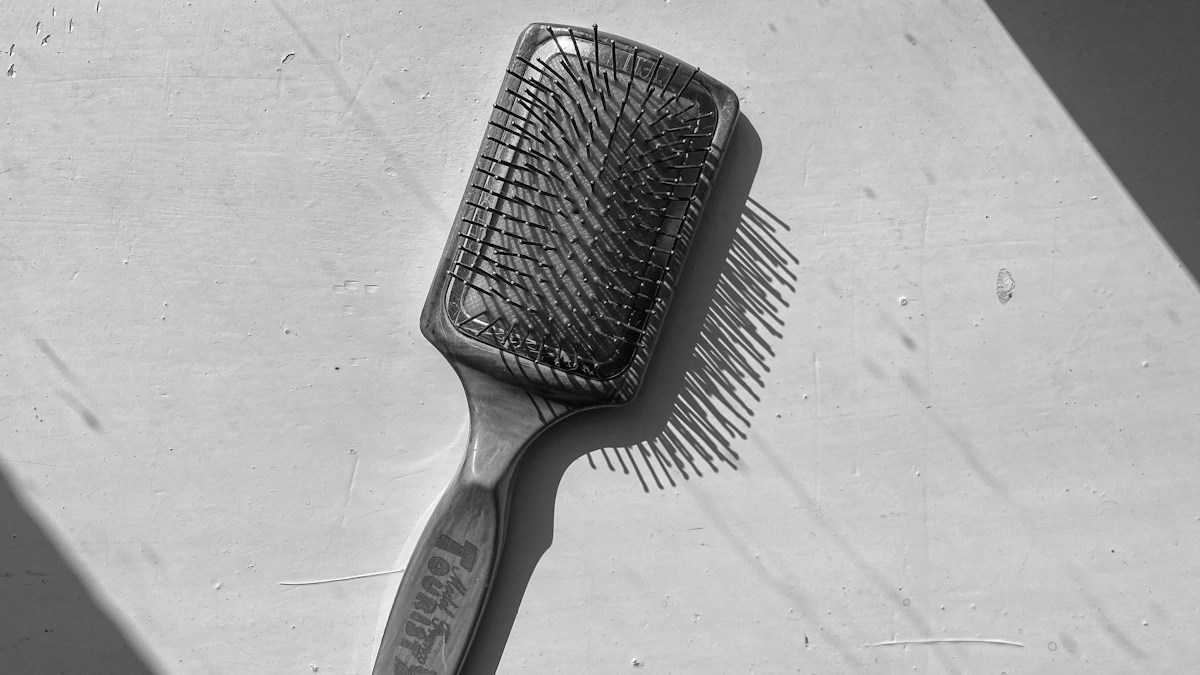
Look at the brush’s base and handle before washing. A molded plastic brush may permit thorough rinsing, but a wooden or cushioned model can trap moisture. Remove loose hair first and check whether the manufacturer allows soaking. That decision is more important than the particular cleanser you choose for the bristles.
Why cleaning matters
| What to check | Practical guidance |
|---|---|
| Why cleaning matters | Styling product residue and scalp oils transfer to bristles. |
| Remove trapped hair first | Use fingers or a suitable brush-cleaning tool to lift loose strands without pulling hard on individual bristles. |
| Identify brush construction | Solid plastic combs and brushes are often easier to wash than wooden or cushioned models. |
Styling product residue and scalp oils transfer to bristles. The resulting buildup may make a clean hairstyle look greasy and can trap lint. Cleaning the tool is different from shampooing your hair.
A brush used with heavy clay or pomade needs attention to more than loose hair. Product deposits may collect at the base of the bristles where normal use pushes them downward. Inspect the bristle rows in bright light and look for a sticky film. A cleaning method that clears the surface but leaves the base coated may not solve the problem.
Remove trapped hair first
Use fingers or a suitable brush-cleaning tool to lift loose strands without pulling hard on individual bristles. Avoid sharp objects near rubber pads or delicate natural bristles. For a related tool with different materials, the beard brush cleaning guide explains the care required for natural bristles.
Take trapped strands out in sections instead of yanking the entire clump with force. Pulling hard against a cushioned pad can damage the bristle sockets. For a brush with closely packed rows, a purpose-made cleaning rake may be useful if compatible with its construction. Remove loose hair before using water so it does not bind with wet residue.
Identify brush construction
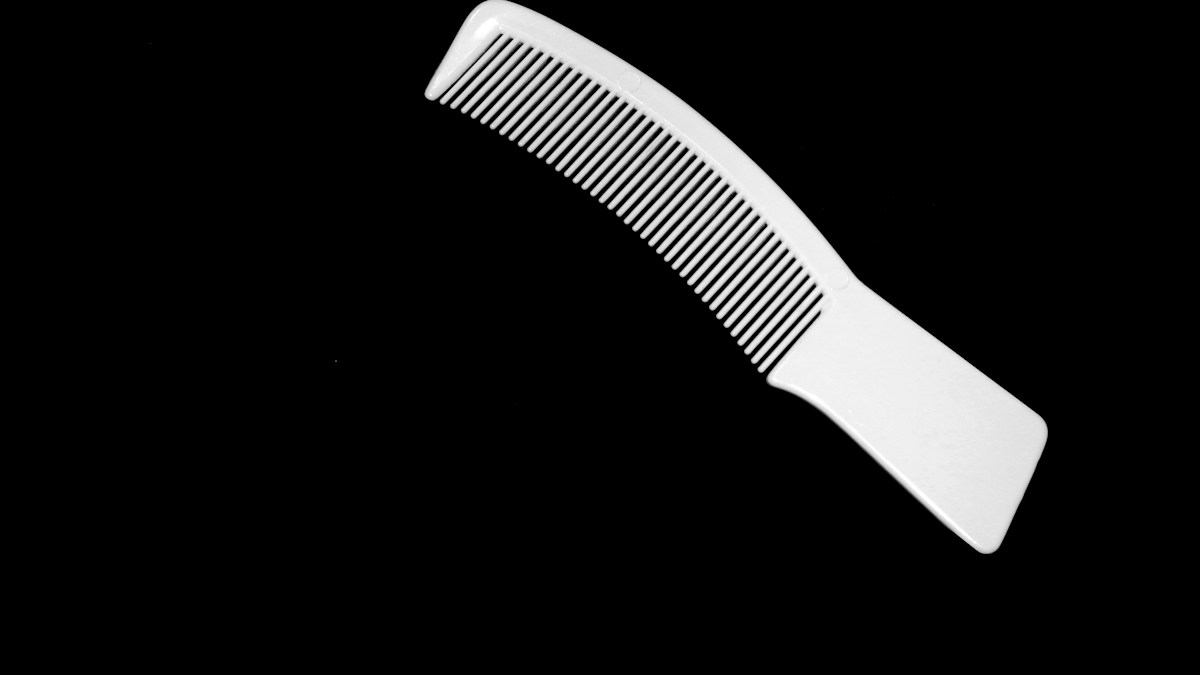
Solid plastic combs and brushes are often easier to wash than wooden or cushioned models. Check the maker’s care instructions before introducing water or cleaners.
A wooden-handled brush and a molded plastic brush should not automatically be washed the same way. Wood may absorb water or develop finish problems, while a cushioned pad can conceal moisture. Look for the maker’s care instructions and separate detachable parts only when designed to detach. A few minutes spent identifying the tool prevents avoidable damage.
How to handle plastic brushes
For a washable plastic brush, use a compatible gentle cleanser and a controlled rinse. Pay attention to the base of the bristles where product collects, then rinse out all soap.
On a fully washable plastic brush, focus cleaning on the spaces between bristle roots where oil and dried styling products collect. Use a gentle compatible cleaner and rinse until no residue remains. Strong abrasive pads can roughen plastic tips that later scrape the scalp. Let the brush drain and dry fully before storing.
Care for natural bristles
Use a gentle method designed for the bristle material and minimize soaking. Natural bristles may lose shape or shed when handled roughly.
Natural bristles may be softer and more prone to bending or shedding when handled aggressively. Use a cleaning method approved for that specific brush and support the base while removing hair. Do not scrape bristles with a sharp tool. If the handle is wooden, keep water exposure limited to what the manufacturer allows.
Avoid saturating cushion pads
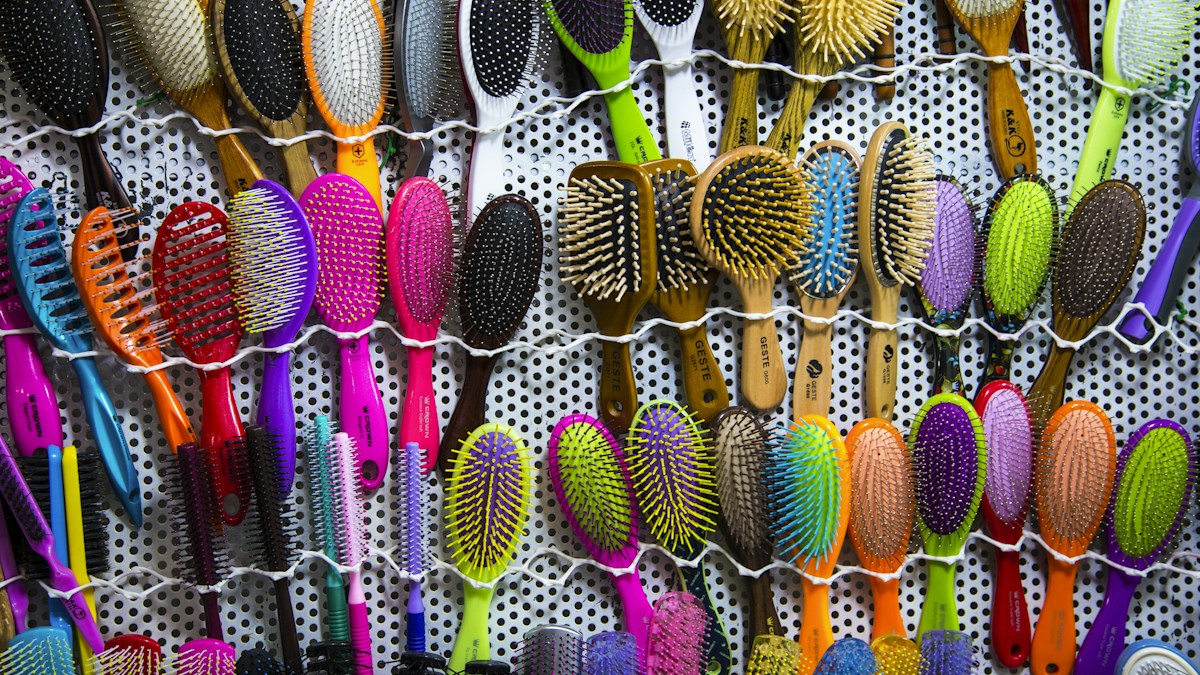
Water can collect behind a cushioned base. Wipe or clean as instructed, then orient the brush so trapped moisture can escape if the design permits.
A cushion pad can look dry across the top while retaining water in its interior. Avoid immersing it unless the manufacturer specifically permits soaking. During drying, orient the brush in the direction recommended by the maker to encourage drainage. If the cushion has become swollen or detached, further washing may worsen its shape.
Why heavy fragrance is not cleaning
Spraying perfume onto a dirty hairbrush only adds another deposit. Remove residue and dry the tool rather than masking an unpleasant smell.
Masking an oily hairbrush with fragrance simply adds another product to the buildup. If it smells unpleasant, inspect the base, trapped hair and storage conditions. Clean the material rather than spraying perfume onto it. Some styling product residue responds to a fabric-safe or tool-safe cleanser, but only use formulations appropriate for brush materials.
Drying before next use
Allow bristles and the base to dry fully away from excessive heat. Using a still-wet brush on freshly styled hair can transfer moisture or cleaner.
Before returning a cleaned brush to a drawer, touch the base, pad and handle to check for lingering moisture. A brush used immediately after a shower may need additional drying time. Keep it away from intense heat that could warp plastic bristles. Reassemble detachable components only after the maker’s instructions say they are dry enough.
When to replace a hairbrush
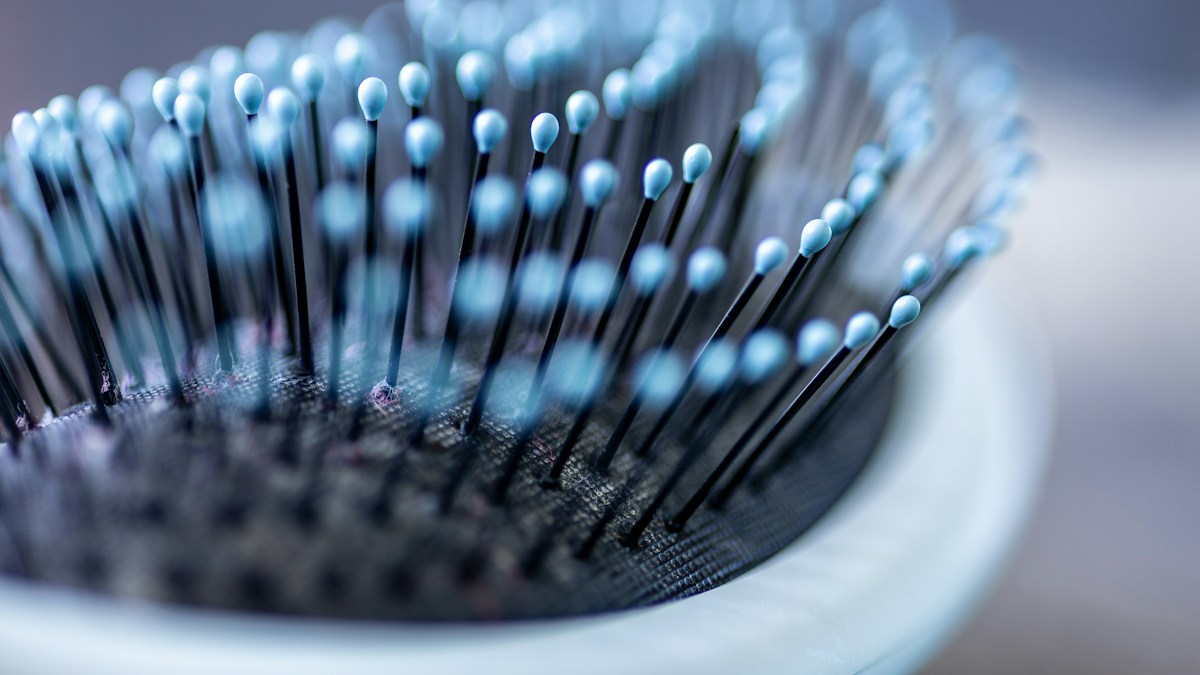
Broken bristles, rough tips, a deteriorating cushion or a persistent odor may make replacement more practical than repeated cleaning. Inspect whether the tool still moves smoothly through hair. A clean brush also belongs in a sensible morning grooming routine, rather than a complicated collection of extra products.
Replacement is justified when bristle tips scratch the scalp, a cushion cracks or the handle begins to splinter. A brush with a few trapped hairs is not worn out, but an uncomfortable damaged tool can make ordinary grooming harder. Evaluate how it moves through hair after cleaning, not just how shiny it looks.
A Better Cleaning Method for Each Brush Type
A simple molded plastic brush without a cushioned pad can often tolerate more direct cleaning than a wooden brush. Remove hair first, inspect the manufacturer’s cleaning instructions and use a mild compatible cleaner. A cushioned paddle brush may have openings that allow water to enter behind the pad. In that case, prolonged soaking is a poor default. Natural-bristle brushes can have more delicate fibers and bases, so a damp cloth or short controlled treatment may be preferable when the maker advises it. Grouping every brush under one soaking recipe ignores these important differences.
How to Reach Product Residue Near the Base
Hair gel and styling wax can build up close to where each bristle enters the base. Start with a brush designed for cleaning hairbrushes or a soft small tool compatible with the surface. Lift loose hairs, then gently work in the spaces without bending bristles sharply. Apply only the cleaner and amount that the maker permits. Rinse washable models thoroughly, paying attention to product remaining between closely spaced bristles. A brush that still feels slippery after cleaning may have residue. Do not compensate by using a corrosive detergent or hard scraping tool.
What to Do With a Brush That Smells Stale
Look at how the brush has been stored. A closed drawer is not automatically a problem, but a brush that is repeatedly put away wet may not dry properly. Examine the cushion and wood for visible changes or persistent dampness. Clean using the appropriate method, then give the tool enough airflow and time to dry before storing it. If the cushion is separating, bristles are falling out or an odor remains after a careful cleaning, the brush may be reaching the end of its useful life. Continuing to soak it can make matters worse.
How to Fit Cleaning Into a Grooming Routine
After styling, remove obvious trapped hair rather than allowing it to gather for weeks. Inspect the brush when styling products start leaving a visible film. Periodic cleaning can be scheduled around your actual use of wax, clay, pomade or scalp products; a person using no styling products may accumulate different residue from someone applying heavy paste daily. Keep one clean brush for regular use and do not share tools unnecessarily where hygiene is a concern. The aim is a brush that works smoothly without reintroducing dirt into freshly washed hair.
A Simple Routine You Can Repeat
After cleaning, inspect between the bristle roots for styling paste and loose hair. If the brush has a cushioned pad, check that the base can dry completely without direct heat. A brush that looks shiny but remains wet underneath may not be ready for a closed drawer. Let the tool dry according to its materials.
Broken bristles, a peeling cushion or splintering wood can make a brush uncomfortable regardless of cleaning. If those signs remain, replacement is more practical than repeated soaking. For an expensive natural-bristle brush, the manufacturer may offer specific maintenance advice before you risk damaging the bristle base.
Frequently Asked Questions
Can I wash every hairbrush in water?
No. Wood, cushions and some natural bristles need restricted methods.
How often should I remove trapped hair?
Remove visible accumulated hair regularly, and clean residue when it builds up.
Can shampoo clean a brush?
Only when compatible with its materials and manufacturer directions.
Does a dirty hairbrush make hair oily?
It can transfer oil and product residue back onto the hair.
Can a wooden brush be soaked?
Do not soak it unless its maker explicitly approves that process.
The Bottom Line
A hairbrush collects loose hair, scalp oil, dust and the residue of styling products. Build the routine around what the material and manufacturer actually permit. Choose a clear first action, verify the outcome and resist shortcuts that damage the item while trying to improve its appearance.