A backpack can accumulate dust, sunscreen, spills and grime while still being structurally sound. Tossing it in a washing machine is not necessarily the easiest safe fix. Many bags contain protective coatings, stiffeners or padding that require a gentler approach.
Do not submerge an electronics bag, leather-trimmed pack or backpack with a nonremovable frame unless its manufacturer explicitly permits it. Check coatings, zips and care labels first.
The First Decision
Check the materials and relevant care instructions. The right cleaning approach removes residue without causing a more permanent problem.
- Empty and inspect the bag
- Check material and construction
- Remove dry debris first
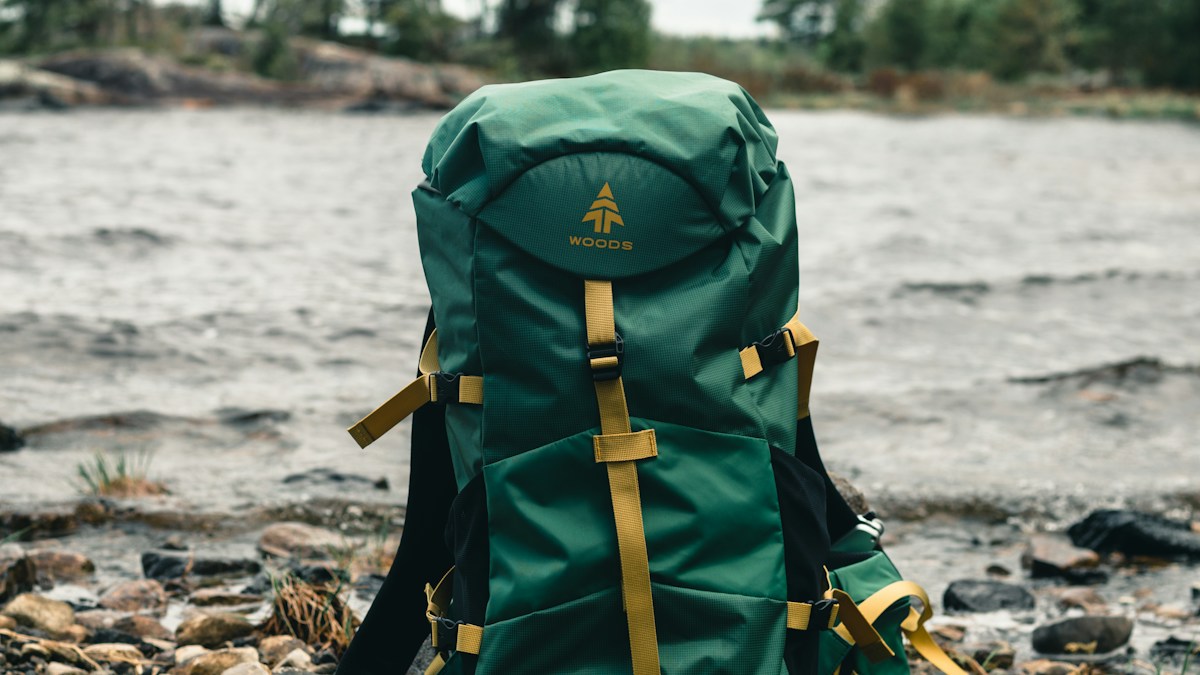
Empty the backpack and identify its construction before adding water. Foam padding, water-resistant coatings and rigid panels may all have different cleaning restrictions from the outer fabric. Remove dry grit from pockets and seams first, and test a manufacturer-compatible cleaner at an inconspicuous point. A small mark rarely justifies soaking the entire assembled bag.
Empty and inspect the bag
| What to check | Practical guidance |
|---|---|
| Empty and inspect the bag | Open all compartments and remove items, crumbs and loose dust. |
| Check material and construction | Canvas, nylon, coated polyester and leather trims require different care. |
| Remove dry debris first | Use a soft brush or vacuum attachment if appropriate. |
Open all compartments and remove items, crumbs and loose dust. Check for leaking pens, food and wet pockets so you can treat the source rather than smear the dirt across lining. For trips, the travel kit guide helps separate genuinely useful everyday items from gear that only adds weight.
Begin by emptying every compartment, including narrow pockets that hold pens or used tissues. Remove dry dust before applying water. Check for a damaged lining or coating so you do not worsen a weak spot while cleaning. A bag that only needs its exterior wiped should not automatically be submerged.
Check material and construction
Canvas, nylon, coated polyester and leather trims require different care. Padding, bonded panels and waterproof membranes can be damaged by prolonged soaking.
Material labels may refer to the shell but not reveal every internal layer. A travel backpack can include coated fabric, foam straps, plastic panels and bonded seams. Those components may respond differently to water and heat. Consult model-specific care instructions when possible, especially for backpacks designed to protect electronics.
Remove dry debris first
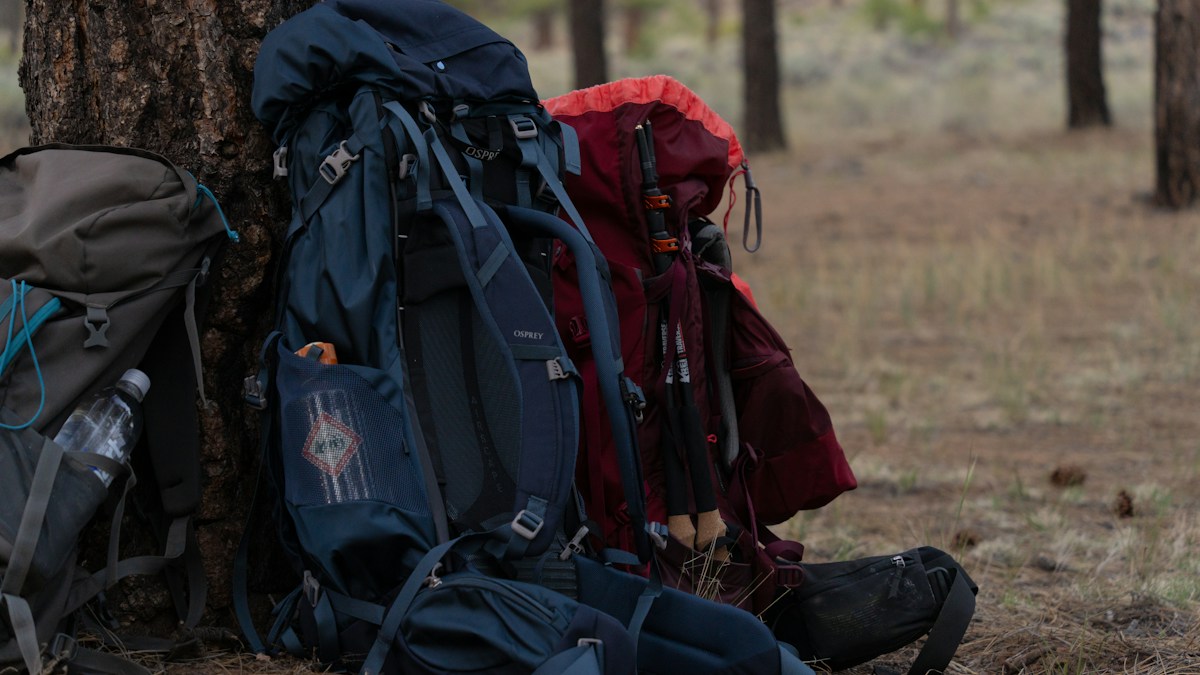
Use a soft brush or vacuum attachment if appropriate. Getting rid of grit before adding moisture prevents turning dust into a muddy film. A clean backpack is easier to pack deliberately; see how to pack a carry-on for a week without overstuffing it.
Dry grit should come off before liquid cleaner is introduced. A soft brush or a vacuum attachment suited to the fabric helps clear seams and pocket corners. Focus on the bottom panel, where outdoor dirt and floor dust accumulate. Dragging a dirty wet cloth across the whole bag can spread a small mark.
Spot-test a gentle cleaner
Use a manufacturer-compatible cleaner and test an inconspicuous place. Dye movement, tackiness or coating changes are reasons to stop.
Spot-test an approved mild cleaner on an inconspicuous area. Check for dye movement, loss of coating, tackiness or a change in surface texture after drying. If the material reacts badly, stop before treating a visible panel. A stain that remains is often less serious than a damaged waterproof finish.
Work in small sections
Support the panel, wipe or brush lightly and keep hardware and seams from being saturated. Focus on straps, handles and the bottom where soil concentrates.
Work across one small panel at a time, using just enough moisture for the cleaner to act. Keep foam padding and reinforced areas from becoming saturated unless their instructions explicitly permit washing. A clean cloth with compatible solution may be sufficient. Never scrub against a seam until the thread begins fraying.
Clean zippers cautiously

Lift lint and dirt from the zipper track gently rather than forcing sharp metal tools into the teeth. A blocked zipper should be evaluated before applying oil or household lubricant.
Zippers often collect lint and dust along the teeth and tape. Lift loose debris gently and check whether a slider runs normally before adding any product. Household oils can stain nearby fabric and may attract more dirt. If the mechanism is damaged, repair is a different task from cleaning.
How to rinse properly
If rinsing is permitted, remove cleaning residue without flooding foam or stiffeners. A damp clean cloth may be better than running water over the entire bag.
Remove cleaner residue using the rinse method recommended for the bag, which may be a damp cloth rather than running water. Pay attention to pockets that can hold soapy liquid. Do not force waterproof compartments inside out or soak the back panel. The objective is a cleaned surface with intact construction.
Dry the bag thoroughly
Open compartments and leave the pack where air circulates, away from heaters and direct intense heat. Thick shoulder straps and the base often dry last.
Let the bag dry open in a place with airflow. Shoulder straps, padding and the base often dry more slowly than the outer panel. Avoid direct high heat that might warp plastic or soften adhesives. Repack only after every compartment is dry, especially if you carry a laptop or other moisture-sensitive equipment.
Protect the bag next time
Empty wet items promptly, store away from damp floors and wipe new stains early. An occasional light clean is easier than restoring a bag that has stayed wet for weeks.
Empty the bag after trips and treat new stains while they are manageable. Keep damp clothing in an appropriate separate bag rather than against the backpack lining. Inspect seams and straps periodically, because a clean bag with a torn load-bearing attachment may still be unsafe to carry heavy items.
A Practical Method for a Fabric Travel Backpack
Suppose the pack has nylon panels, foam shoulder straps and a coated lining. Start by removing paper, loose grit and detachable parts that the maker intends you to remove. Brush the fabric gently while dry, then spot-test a compatible cleaner at the bottom or inside where a slight color change would be less noticeable. Work on one panel at a time using as little moisture as needed, and avoid saturating the foam. Rinse residues with a clean damp cloth if the instructions allow it. Open every compartment for complete drying before storage.
Why a Backpack Can Lose Shape After Washing
Structured bags are not the same as loose cotton clothing. Frames, foam padding, adhesives, waterproof membranes and coated interiors can react poorly to agitation, prolonged soaking or heat. A bag may come out of a wash looking clean but with a buckled base or peeling lining. That is why the care instructions matter more than a general claim that nylon is washable. Clean the individual surfaces without assuming the entire assembled pack should go into a machine.
When Cleaning Is Not Enough
Inspect the zipper tape, seams, shoulder-strap attachment points and base fabric after cleaning. Surface dirt is usually easier to address than structural damage. A torn strap or compromised waterproof coating can affect how the pack carries weight or protects its contents. For an expensive travel bag, contact the manufacturer about repair or replacement parts rather than adding adhesives without knowing compatibility. A small amount of discoloration may be acceptable; a failure at a load-bearing seam is a different decision. If drying indoors is consistently difficult, the guide to indoor drying without musty smells explains why room humidity matters.
Remember the Hidden Storage Pockets
Small pockets may contain crumbs, spilled sunscreen or damp tissues long after the main compartment looks tidy. Turn approved pocket linings outward for inspection and remove dry debris before spot cleaning. Do not force bonded linings or reach sharp tools into fabric folds. Let every pocket dry open so trapped moisture does not undo the cleaning work.
A Practical Checklist to Finish the Job
Inspect the pack after cleaning and full drying. Make sure pockets open smoothly, zippers have not trapped grit and straps retain their shape. An outer panel that looks clean while the back padding remains damp is not yet ready for storage. Keep the pack open in a ventilated location until its thicker parts are dry.
Structural failures such as torn shoulder-strap attachment points or peeling waterproof coating are not fixed by wiping away dirt. A manufacturer repair may preserve a valuable pack, while replacing a severely damaged one may be safer for carrying heavy items. Judge function and construction separately from surface cleanliness.
Frequently Asked Questions
Can I wash any backpack in a machine?
No. Frames, foam and coatings may be damaged by agitation or prolonged soaking. Check the specific product instructions.
How do I clean a padded laptop bag?
Remove debris first, then carefully spot-clean compatible fabric and avoid soaking foam, wiring channels or bonded structure.
Can I soak a nylon backpack?
Not without explicit maker approval. Even a nylon shell can have coatings, foam and glued parts that should not be submerged.
How do I dry a backpack quickly?
Open the compartments, support its shape and allow airflow away from excessive direct heat. Thick straps may take longer.
Should I use bleach on a backpack?
Only if the product and bag maker permit it. Bleach can harm dyes, coatings and hardware.
The Bottom Line
A backpack can accumulate dust, sunscreen, spills and grime while still being structurally sound. Careful inspection and ordinary maintenance will solve more daily problems than extreme shortcuts. Work from the actual source of the problem, respect the object’s construction and keep the process simple enough to repeat.