A loose button is a small repair that can save a shirt from becoming unwearable during a meeting or a trip. It takes basic thread, a needle and a little care rather than a sewing machine. The part that matters is attaching the button securely without creating an ugly knot, puckering the fabric or making the button difficult to fasten.
Check whether the original button is still available and whether the fabric around it has torn. Match the thread color and thickness, locate the existing stitch marks and support the shirt so you can access the underside safely.
Do not sew through multiple shirt layers accidentally or use a heavy needle that leaves permanent holes in fine fabric.
What to Check Before You Begin
- When is a button simply loose?
- The tools you need
- How to choose the right button position
Before starting, check whether the original button is merely loose or whether the shirt has torn around its stitching holes. Choose thread that matches nearby buttons and examine the buttonhole on the opposite placket. A secure repair depends on alignment and fabric strength, not only on tying a tight knot.
When is a button simply loose?
| Question | Practical answer |
|---|---|
| When is a button simply loose? | A loose button wobbles because its securing thread has worn or snapped, but the fabric underneath remains intact. |
| The tools you need | Use an appropriately sized hand-sewing needle, matching thread, small scissors and the original or a matching spare button. |
| How to choose the right button position | Look for the old thread holes and align with the opposite buttonhole while the shirt lies flat. |
A loose button wobbles because its securing thread has worn or snapped, but the fabric underneath remains intact. If you see tearing or elongated holes in the shirt, repairing the base may be necessary first.
Do not attach a new button over frayed cloth and assume it will hold. The strain will return to the same weakened area.
Check whether the stitching is loose or the cloth underneath is torn. If the weave has opened around the button, a new knot alone may pull through the same damaged spot. Inspect the opposite buttonhole too; excessive friction there may be what loosened the original button. The repair is stronger when the surrounding fabric is sound.
The tools you need
Use an appropriately sized hand-sewing needle, matching thread, small scissors and the original or a matching spare button. Many dress shirts include an extra button sewn inside. For a practical rotation that leaves time for repairs, see how many dress shirts a man needs for his actual week.
A contrasting button may be acceptable on a casual shirt, but replacing one button on formal office shirting can make the repair conspicuous. Check size and hole pattern. Button placement is not a substitute for correct sizing; our guide to measuring dress shirt collars and sleeves deals with the larger fit decision.
A basic hand repair kit is small enough to keep at home or in luggage. Select thread close in color and weight to the original, a needle that passes through the fabric without enlarging the hole, and clean sharp scissors. A button rescued from inside the shirt is usually a closer match than a random one from a craft drawer.
How to choose the right button position
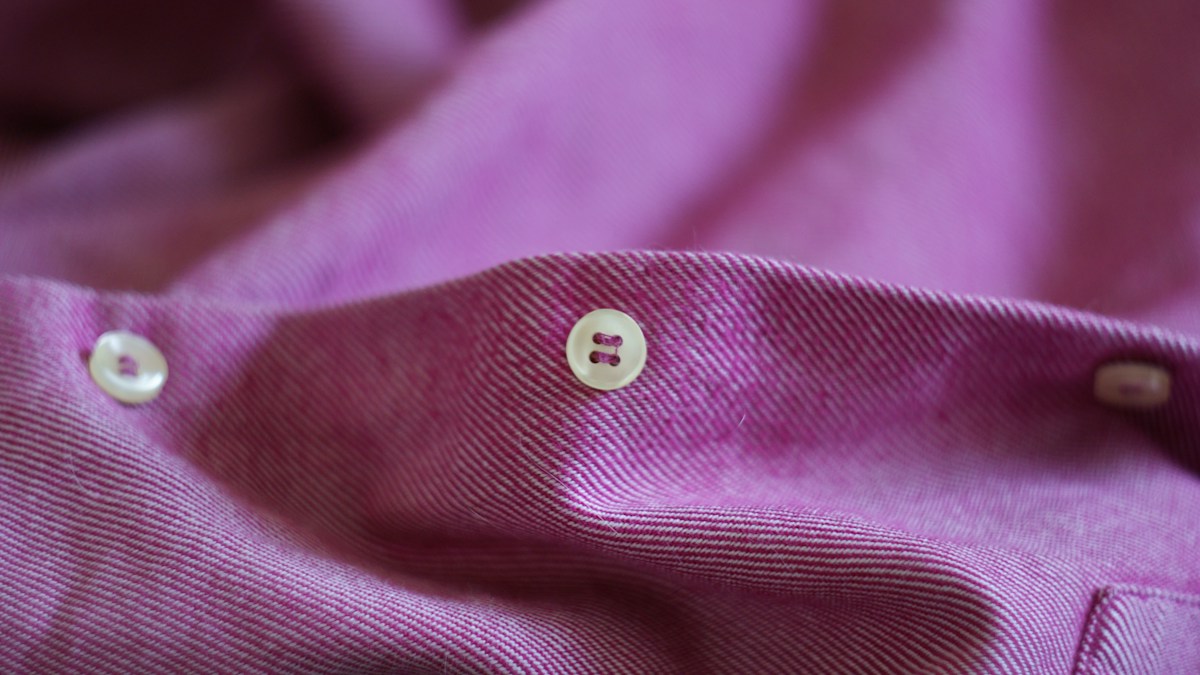
Look for the old thread holes and align with the opposite buttonhole while the shirt lies flat. A button too close to the placket edge can pull the fabric; too far from it may change overlap.
Before stitching, close the neighboring buttons and compare their positions. That visual reference is often more reliable than measuring from a single seam.
The old stitch marks show where the button was attached, but the opposite buttonhole confirms alignment. Close neighboring buttons and lay the placket flat before you sew. If the shirt is stretched across the chest, correcting button position alone will not solve pulling or gaping; that may be a fit issue.
Threading a needle
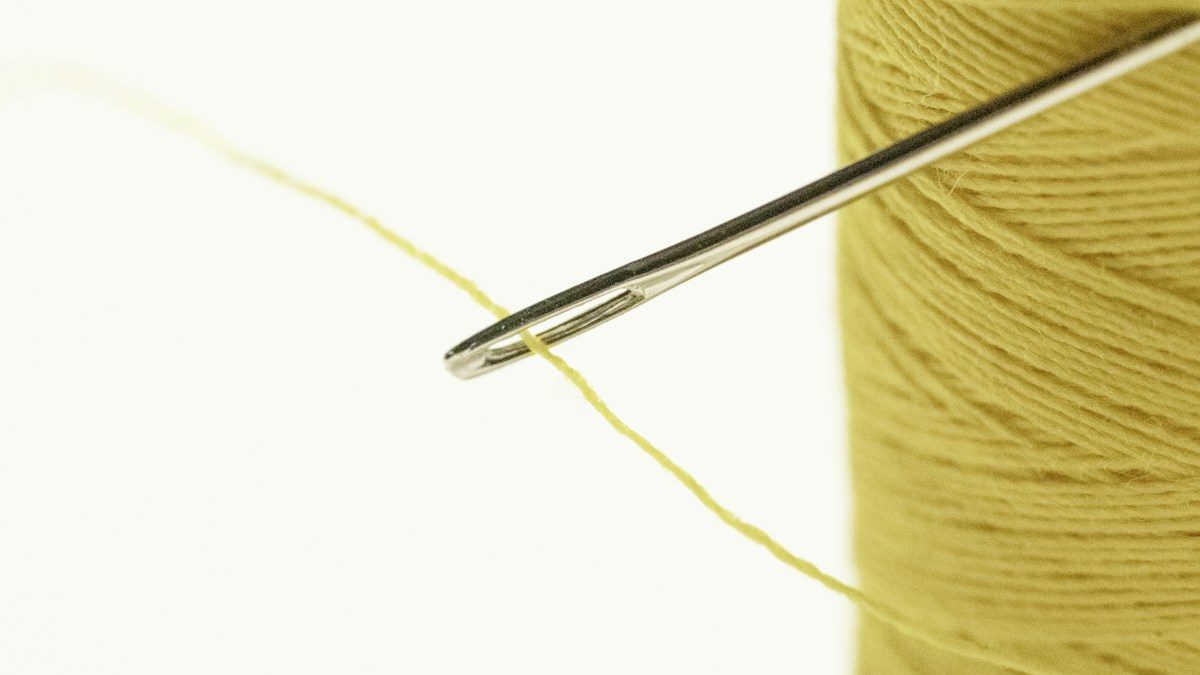
Cut a manageable length of thread and pass it through the needle eye. Knot one end if that suits the stitching method, keeping the knot small enough not to create a lump against the skin.
Too much thread becomes tangled; too little forces a second knot before the button is secure. Work slowly with good lighting rather than making a rushed repair.
Keep the thread length manageable to reduce tangles. If you double the thread, account for the combined thickness so the button is not held by an enormous knot. Use good lighting and keep the needle out of the path of your fingers. A tidy start makes it easier to adjust tension before the stitches become difficult to undo.
Making the first stitch
Start from the underside of the placket at the original stitch location. Pass the needle up through the fabric and one buttonhole, then down through the opposing hole.
Avoid catching the back panel of the shirt. Spread the placket apart so you are stitching only through the intended layer.
Use the existing holes through the cloth whenever practical instead of creating a cluster of new holes. Make sure the back of the shirt is not trapped behind the placket during the first pass. A clean piece of cardboard behind the area can help separate layers while you work, but remove it before you finish the knot.
Four-hole versus two-hole buttons
A two-hole button uses repeated passes between the pair; a four-hole button may be stitched as two parallel pairs or a cross pattern. Match the neighboring buttons when possible.
Consistency matters visually, but the number and tension of secure stitches matters more than a decorative pattern. Do not pull thread so tight that the cloth puckers.
Match the stitch pattern of the neighboring buttons where possible. Crossed stitches on one four-hole button may look out of place if the others use parallel lines, though either can be structurally sound. The key is that the button sits straight and can pass through its buttonhole without pulling the placket sharply.
Leaving enough thread clearance
A button needs a little room for the buttonhole fabric to sit beneath it. Very tight stitches make fastening difficult and can stress the shirt.
A small spacer such as a toothpick can help control clearance in some repairs, but adjust for the actual fabric thickness and construction.
Buttons on heavy fabric often need more clearance than buttons on a thin shirt. If stitches are pulled flush against the surface, the buttonhole has little room to sit beneath the button, increasing stress. Compare the repaired button’s height with nearby closures and test the shirt while standing, not only on a table.
How to secure the thread
Once the button is stable, guide the thread to the underside, take a small securing stitch and form a tidy knot. Trim ends without cutting the stitches that hold the button.
Check the repair by fastening and unfastening the shirt several times. If the placket pulls or the button tilts badly, correct tension before calling it finished.
Finish the stitch on the underside so the knot is not visible from the front. Cut thread ends close enough to look tidy without nicking the securing wraps. Then fasten and unfasten the button slowly. If the placket puckers, the tension may be too tight; if the button wobbles widely, it may need more secure stitches.
What if the buttonhole is fraying?
A loose button is not the only problem when the buttonhole itself is damaged. It may need hand reinforcement or professional repair, particularly on finely woven shirts.
Continuing to force the button through an opening that has partly torn can enlarge the problem. Fix the garment rather than just replacing hardware.
A fraying buttonhole is a different repair from a loose button. Do not keep forcing the button through torn threads because that can enlarge the opening. Fine formal shirting may require reinforced stitches around the buttonhole edge or a professional repair, especially when the damage is close to the placket seam. A repair should preserve how the garment wears; the guide to how a dress shirt should fit can help spot broader fit problems.
Keeping spare buttons and a repair kit
Store the spare button where you can identify its shirt. A needle, small neutral thread set and compact scissors cover many basic wardrobe repairs.
A small sewing repair is useful not because it is complicated, but because it prevents an avoidable replacement and lets you keep wearing something that already fits.
Keep spare buttons in a labeled envelope or sewing tin rather than leaving them inside an unrelated drawer. An inexpensive needle-and-thread kit can extend the life of a shirt that already fits. Periodically inspect the top button and cuff buttons, which may loosen from regular fastening before the front buttons show wear.
A Practical Final Check
After stitching, fasten the shirt while standing and move naturally. The repaired button should close smoothly without puckering the fabric or pulling the placket sideways. A button that looks straight on a table may sit awkwardly under tension, especially at the chest or collar.
When a buttonhole has frayed or a seam has begun tearing, a basic button stitch may not be enough. A tailor can reinforce that area more reliably. The cost of a small repair is often sensible when a shirt otherwise fits well, but do not conceal structural damage under more thread.
Frequently Asked Questions
Can I sew a dress-shirt button without a machine?
Yes. Hand stitching with needle and thread is sufficient for most ordinary loose buttons.
How many times should I stitch through the button?
Enough secure passes to hold it firmly without puckering; the exact count varies with thread and button size.
Should button stitches be tight?
Secure but not so tight that the button cannot accommodate the buttonhole fabric.
What if I lost the original button?
Check for a spare inside the shirt or match the diameter, color and hole style as closely as possible.
Can a tailor fix a torn button area?
Yes. Structural fabric damage may need reinforcement beyond simply attaching a button.
The Bottom Line
A loose button is a small repair that can save a shirt from becoming unwearable during a meeting or a trip. A restrained process grounded in the actual garment instructions, careful inspection and a suitable first step is more reliable than a universal shortcut. The aim is to keep what you own functional and presentable without unnecessary purchases or accidental damage.