A beard trimmer can pull hairs or feel rough when its cutting head is packed with clippings and dried product. Cleaning it is straightforward only after you know the model. Some trimmers are fully waterproof, while others allow rinsing detachable heads but not the powered handle. Clean tools are only part of upkeep; our guide to how often to wash a beard covers the hair and skin side of that routine.
Do not assume waterproof marketing for one trimmer applies to every model. Read the user manual and disconnect power before cleaning unless the manual explicitly specifies another procedure.
What to Check First
Check the materials and the manufacturer’s cleaning restrictions before choosing your method. Preventing damage matters as much as removing residue.
- Check the water rating
- Switch off safely
- Remove the guide comb
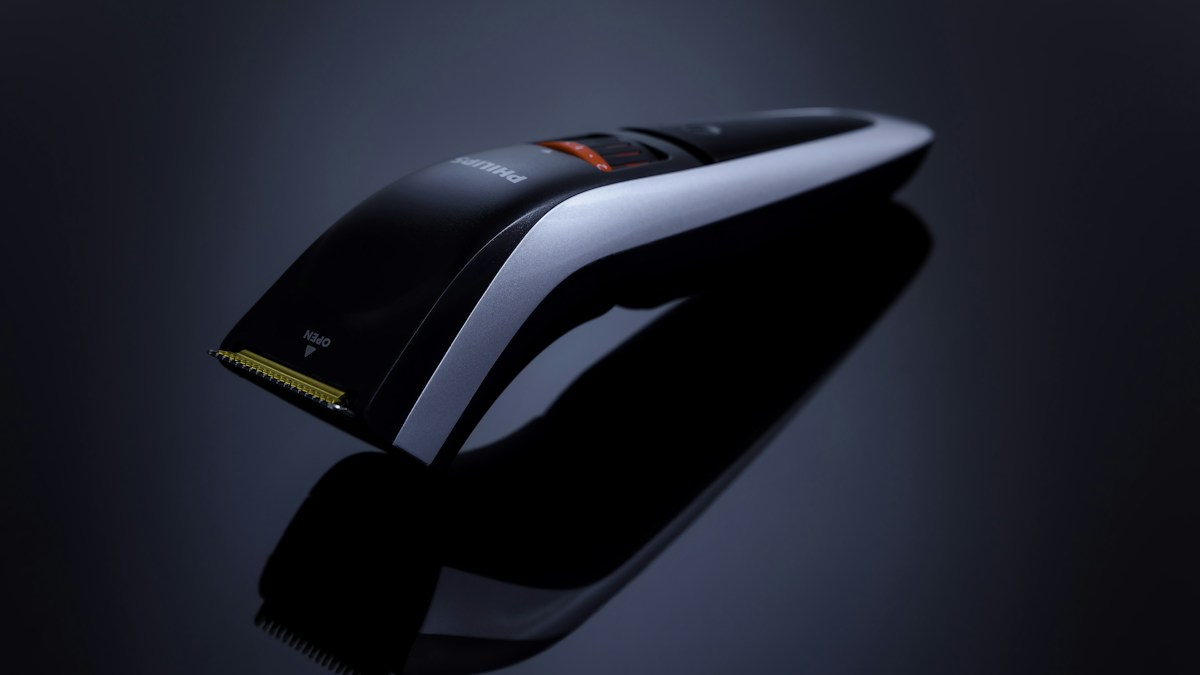
Before cleaning a beard trimmer, read the model-specific instructions and identify which parts detach safely. Some heads can be rinsed while their powered handles cannot. Switch off and disconnect charging power as required, then brush away loose clippings. The cleaning method should protect both the cutting teeth and the electrical components.
Check the water rating
| What to check | Practical guidance |
|---|---|
| Check the water rating | Find the model number and manual. |
| Switch off safely | Disconnect from charging power and use the cleaning steps specified for that device. |
| Remove the guide comb | Detach removable guards carefully as designed rather than bending plastic teeth. |
Find the model number and manual. Some handles must never be rinsed, while detachable heads can be cleaned under a tap. Symbols and instructions matter more than appearance.
The water-resistance rating and cleaning method are model-specific. A trimmer marketed as washable may still have a charging port that must stay dry, or a removable head with different instructions from the body. Find the model number before exposing the device to running water. Do not infer waterproofing from another trimmer by the same company.
Switch off safely
Disconnect from charging power and use the cleaning steps specified for that device. Do not handle an electrical trimmer with wet hands when its manual forbids it. The related electric razor cleaning guide covers a different cutting head and should not be mistaken for a trimmer-specific manual.
Make sure the device is switched off and disconnected from power before handling its cutting head, unless the manufacturer’s cleaning procedure explicitly directs otherwise. Place small guards on a clean surface so they do not fall into a sink. The cutter teeth can be sharp even when the motor is off, so avoid sliding fingers across their edges.
Remove the guide comb
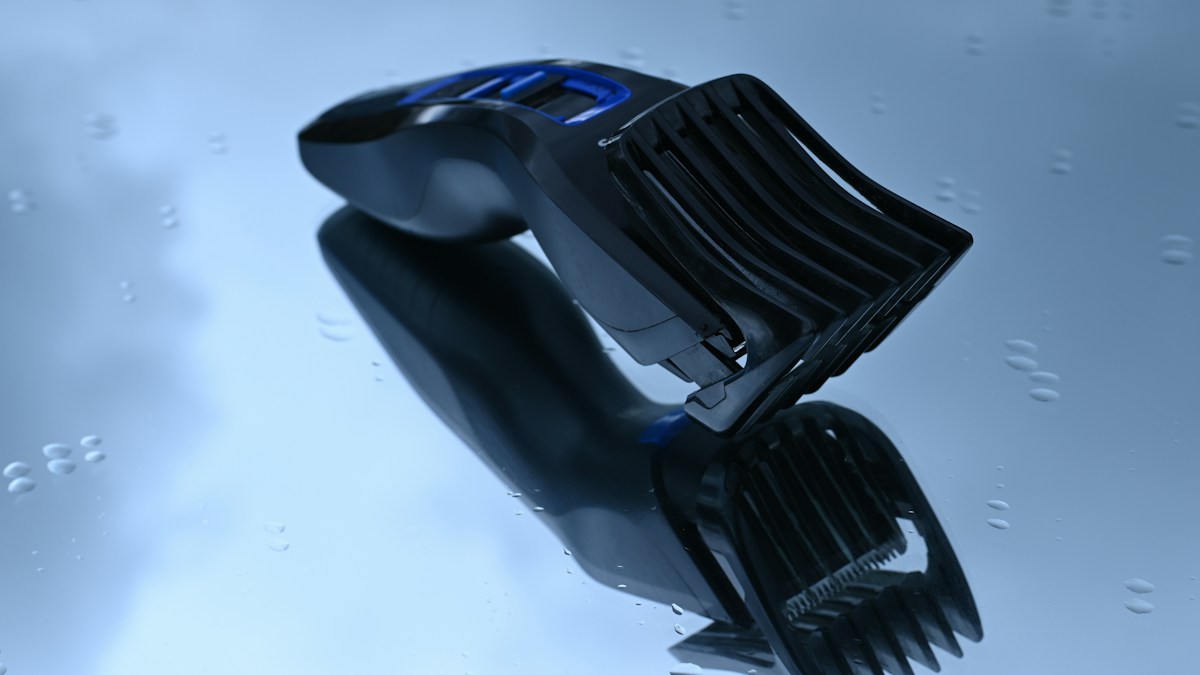
Detach removable guards carefully as designed rather than bending plastic teeth. Hair often collects between the comb and the cutting head.
Guards often trap short hairs in the notches that determine cutting length. Release the attachment using the intended tabs rather than bending the teeth outward. Brush dry clippings away before rinsing washable components. Reattach the guard securely afterward, because an incompletely seated comb can alter the cutting length unexpectedly.
Brush away dry clippings
Use the supplied cleaning brush or a compatible soft tool. Avoid metal picks that can bend precision cutter teeth or scratch protective coatings.
Use the supplied brush to clear hair from the cutter area without forcing it between precision blades. Metal picks, abrasive pads and hard brushes can damage edges that need to meet accurately. A small amount of hair remaining near a nonremovable component is not an invitation to pry open the powered handle.
Rinse only permitted parts
Philips manuals illustrate model-dependent cleaning: some attachments rinse while the handle must stay dry. Do not immerse a nonwashable trimmer to save time.
A model that permits rinsing the head may not permit immersion of the handle. Keep water away from charging contacts and use the temperature specified in the manual. If the blade assembly detaches, clean it in the sequence the maker provides. Reassembly while wet can trap moisture near metal components.
Dry components separately
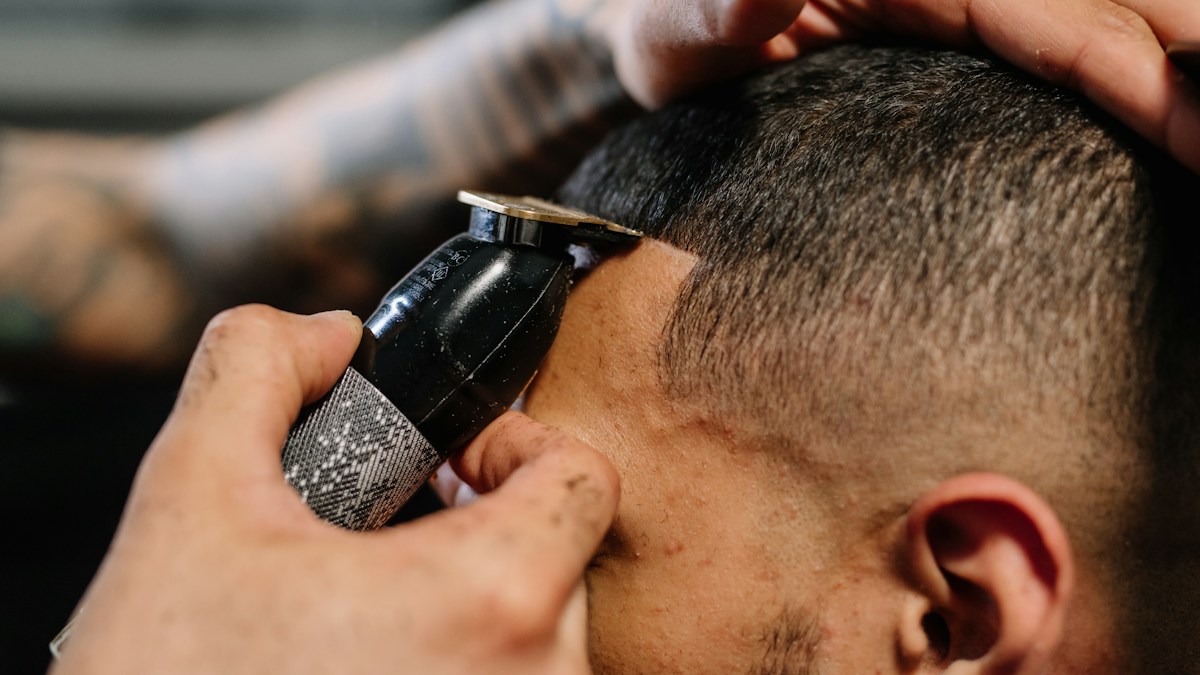
Shake away excess water only when allowed, then air dry parts completely before putting them back together. Moisture inside a stored cutting head may encourage corrosion.
Dry each washable part in the manner the manufacturer specifies before placing it into storage. Do not point a very hot hair dryer at cutter parts or plastic guards to accelerate drying. Check that the head clicks back into position and moves freely according to the manual. A damp enclosed carrying pouch is not ideal storage.
Do blades need oil
Some clipper mechanisms require manufacturer-specified oil and intervals; other modern trimmers are designed to need no oil. Follow your exact manual instead of universally recommending lubrication.
Some clipper designs require oil at particular points while others are sold with blades that need no oiling. If the manual says no oil is necessary, adding household oil may attract clippings and interfere with the device. When lubrication is required, use the correct product and amount instead of a random kitchen oil.
What not to put on blades
Avoid corrosive cleaners, abrasive pads, gasoline and acetone. Improvised solvents can damage plastic parts and remove protective lubrication.
Harsh solvents and abrasive cleaners can attack plastic housings, markings and protective finishes. A strong smell of disinfectant does not prove the device is properly cleaned. Only use approved disinfecting products if sanitation is required, and respect drying and electrical safety requirements. Do not combine chemicals on the blade assembly.
Know when cutting performance has declined
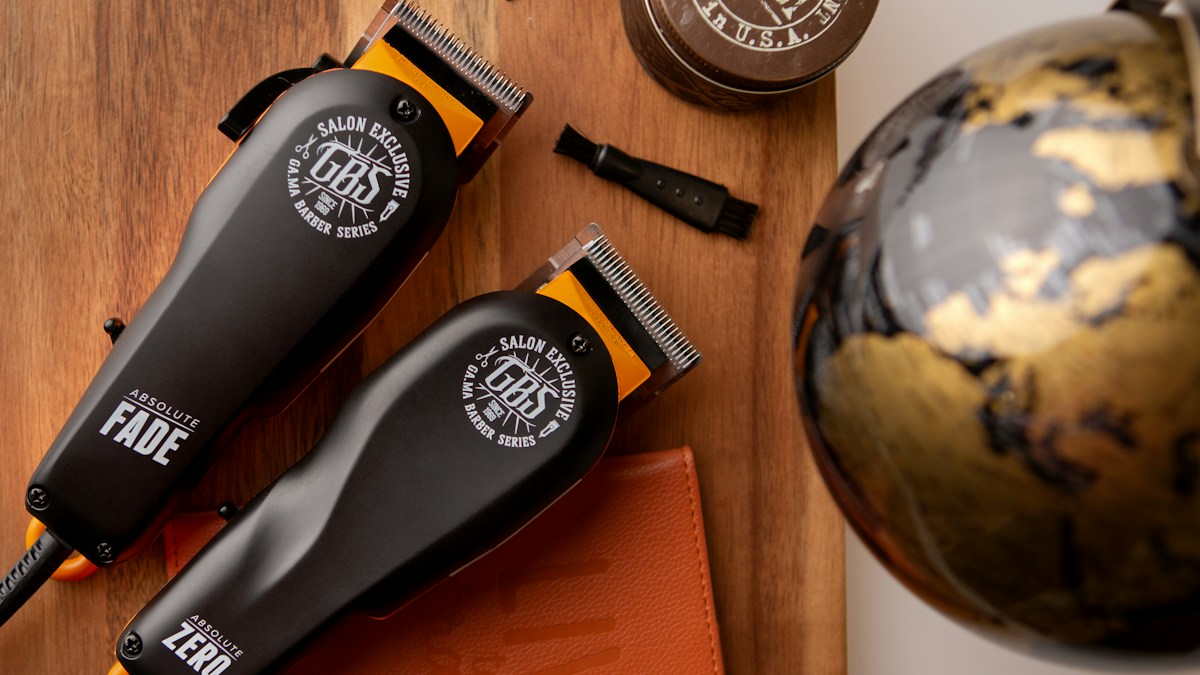
Persistent pulling after cleaning may reflect dull cutters, misalignment or a damaged comb. Check supported replacement parts rather than applying more pressure to facial hair. If a separate electric shaver is losing cutting performance, our guide to replacing razor heads explains when new parts can be justified.
If the cutting head still pulls hair after appropriate cleaning and assembly, inspect for wear or a damaged guard. Replacement parts may be available for the specific model. Do not press the trimmer harder against skin to compensate for a dull blade. Unexpected heat, noise or electrical malfunction needs manufacturer troubleshooting rather than further washing.
A Worked Example: A Nonwashable Trimmer Handle
Imagine a trimmer whose manual says its handle cannot be rinsed but its guard and cutter can be cleaned separately. Switch it off, disconnect charging power and remove the guard according to the device instructions. Use the supplied brush to lift clippings from the body and hair chamber without pushing hair further inside. Only rinse a detached cutter if that exact model allows it. Dry the parts thoroughly before reassembly. A trimmer sold as splash-resistant may still have limitations on immersion, charging ports or cleaning techniques, so the manual is the final authority.
A Different Example: A Fully Washable Trimmer
Some current Philips beard trimmers are marketed as waterproof and designed for rinsing without blade oil. That guidance cannot be transferred to every trimmer in a bathroom drawer. Follow the maker’s instructions for turning the device on or off during cleaning, removing guards and opening the blade assembly. Use compatible water temperature and cleaning tools. Shake away moisture only when instructed and allow components to dry before storage. Do not use a towel to rub directly across sharp cutter teeth, which can snag fabric or damage the delicate edges.
When Oil Helps and When It Does Not
Blade maintenance depends on design. Traditional hair clippers may need a particular oil at specified points to reduce friction. Some modern trimmers use cutters that the manufacturer says should not be oiled. Extra oil on an oil-free design can collect clippings or interfere with its intended lubrication system. Before buying anything, locate the model number and service guide. If oil is required, use the approved product and amount, not cooking oil or a random household lubricant. Cleaning and lubrication are separate tasks and should not be confused.
Signs the Device Needs Repair Rather Than Cleaning
If a cleaned and correctly assembled trimmer continues snagging hair, runs erratically, becomes unusually hot or has visible blade damage, stop and inspect the maker’s troubleshooting guidance. Check that the guard is firmly seated and that an adjustable setting has not slipped. Do not press harder into the skin to compensate for dull cutting performance. Damaged attachments may be replaceable; a defective motor or internal electrical issue should not be repaired by soaking or prying open the handle. A safe trim matters more than forcing another month of use out of damaged equipment.
An Important Distinction About Rinsing
Some manuals instruct owners to rinse a detachable attachment while keeping the powered handle entirely dry. Others permit the whole head to be rinsed. That difference matters more than a photograph of a trimmer under water. If the model information is missing, use the manufacturer’s support resources to identify it before exposing electrical parts to moisture. Never interpret a washable guard as proof that the charger or handle can be submerged.
A Simple Routine You Can Repeat
Check whether the device cuts smoothly after correct cleaning and reassembly. A guard that did not click into place can change the trim length or catch hairs. Do not apply extra pressure to skin to overcome pulling. If lubrication is recommended, use only the product and amount specified for that model.
When a cleaned trimmer continues pulling, overheating or making abnormal noises, inspect the maker’s troubleshooting instructions. A worn cutter may have an approved replacement part, but internal electrical faults should not prompt improvised disassembly. A tool that cannot cut safely is no longer worth forcing into regular use.
Frequently Asked Questions
Can beard trimmer blades be washed?
Only if the model’s instructions allow that part to be rinsed.
Do all trimmers need oil?
No. Maintenance differs; some models are designed for oil-free blades.
Can I use alcohol on the blades?
Use only disinfecting or cleaning products approved by the device maker.
Why does my trimmer pull hairs?
Residue, worn blades or incorrect assembly may contribute.
Should blades be completely dry before storage?
Follow the manual; generally avoid sealing wet components in storage.
The Bottom Line
A beard trimmer can pull hairs or feel rough when its cutting head is packed with clippings and dried product. Build the routine around what the material and manufacturer actually permit. Choose a clear first action, verify the outcome and resist shortcuts that damage the item while trying to improve its appearance.