A bottle can look clean from the outside and still collect residue around the mouthpiece, straw, seal and bottom edge. The goal is to wash every part that contacts water or your mouth, then let the pieces dry so moisture is not trapped under a lid.
Not every bottle or cap is dishwasher safe. Insulated bottles, electronic lids, rubber seals and straw assemblies may have separate restrictions. Follow the exact product manual.
The First Decision
Check the materials and relevant care instructions. The right cleaning approach removes residue without causing a more permanent problem.
- Check how the lid comes apart
- Clean the bottle interior
- Why straws need separate care
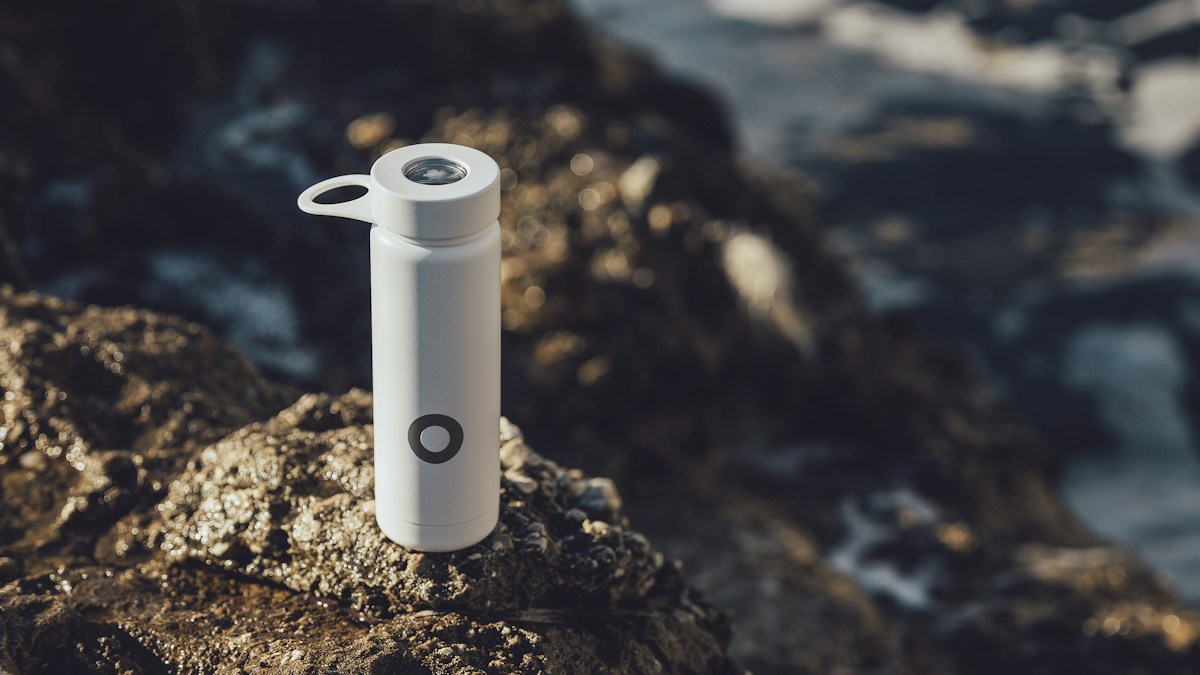
Start by identifying the bottle model and disassembling only parts the manufacturer says are removable. Prepare the correct bottle and straw brushes, a clean work surface and approved cleaning products. Put small gaskets in a tray. A straw lid cannot be treated as a simple open cup, because the internal surfaces and seals need direct attention.
Check how the lid comes apart
| What to check | Practical guidance |
|---|---|
| Check how the lid comes apart | Some straw lids have removable seals or mouthpiece components, while others do not. |
| Clean the bottle interior | Use the maker’s recommended mild cleaner and water temperature with a suitable bottle brush where permitted. |
| Why straws need separate care | A narrow drinking tube can collect residue that an ordinary sponge cannot reach. |
Some straw lids have removable seals or mouthpiece components, while others do not. Forcing a part can damage the leak protection. Find the maker’s diagram first.
Start by identifying the exact bottle and lid version. Two lids sold by the same brand may have different seals and removable components. Use the manufacturer’s diagram rather than prying at a gasket because it looks detachable. Put small parts in a clean dish so you do not lose them during washing.
Clean the bottle interior
Use the maker’s recommended mild cleaner and water temperature with a suitable bottle brush where permitted. Reach the base and shoulder rather than only rinsing the neck.
The inside base may collect residue even when the drinking water seems clear. A suitable bottle brush can reach beyond the neck, but use only bristles and cleaners compatible with the container coating. An insulated metal bottle may have different heat and dishwasher restrictions from a plain plastic one.
Why straws need separate care

A narrow drinking tube can collect residue that an ordinary sponge cannot reach. A compatible straw brush helps clean interior surfaces without forcing a hard tool through delicate valves.
A straw needs cleaning along its entire internal length, not merely at the opening. Use the manufacturer’s approved straw brush and pay attention to the drinking end where lips contact the surface. Avoid forcing a hard wire through a flexible valve, which could tear the material and create a leak.
Do not forget the seal
Gaskets and seal grooves hold moisture. Remove only manufacturer-approved detachable seals, clean gently and inspect for damage that can cause leaking. Bottle leaks matter most when packing alongside other essentials, as our guide to packing a carry-on for a week makes clear.
Gaskets may sit in shallow grooves that hold moisture and drink residue. Remove them only if the maker permits it, then clean the groove and seal without stretching the rubber. A damaged gasket may no longer prevent leaks after reassembly. If it has become cracked or misshapen, consider the correct replacement part.
Rinse all cleaning product
Residual detergent can make water taste unpleasant and can collect around a mouthpiece. Rinse according to the product instructions and inspect for visible film.
Rinsing is a real cleaning stage, especially when a bottle has narrow openings. Detergent left under a seal can affect taste and may be hard to spot. Inspect the lid pieces after rinsing and before assembling them. Use the water temperature allowed by the bottle maker instead of assuming boiling water is necessary.
Dry the components separately
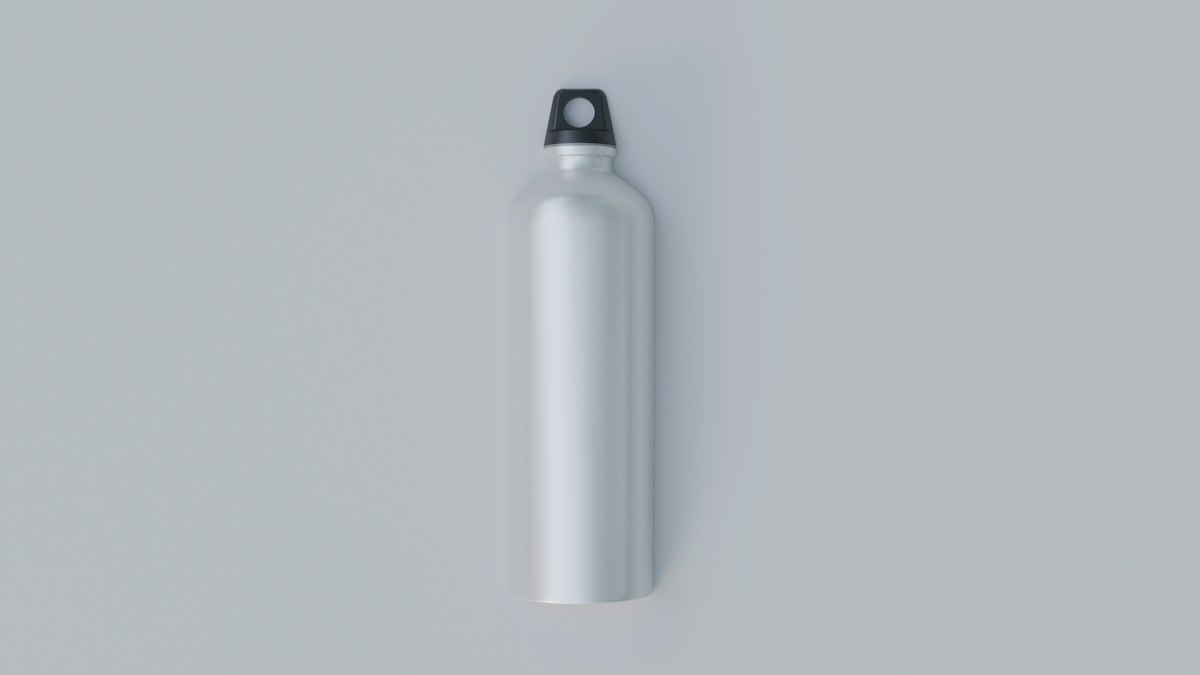
Allow water to drain and air circulate before reassembly. Putting a damp seal inside a closed cap prolongs moisture exposure.
Allow parts to dry separately with room for air to circulate. A closed cap can trap water under a mouthpiece or inside a straw. Place small pieces where they will not collect dust or be lost. A bottle that smells fine while open but develops odor when sealed may still contain moisture or residue.
When dishwasher cleaning is allowed
Certain lids and bottles are top-rack dishwasher safe, others are hand-wash only. The instructions for the lid may differ from those for the bottle body. If you carry a bottle on trips, the practical travel kit guide covers what equipment deserves a permanent place in your bag.
Dishwasher-safe claims may apply to the body but not the lid, or to a cap but not an insulated bottle finish. Check each component’s product information. If a part requires a top-rack placement, follow it rather than using a hot sanitation cycle by assumption. Heat can change the fit of plastic seals.
Avoid harsh household mixtures
A strong bleach or acidic soak is not automatically necessary and may harm seals, coatings or metal parts. Use manufacturer-approved cleaning methods.
Do not mix bleach, acids or other cleaning agents inside a bottle in an attempt to sterilize it. Some brands publish specific cleaning procedures and maintenance products. Those are safer references than a generic internet recipe. A bottle with coatings or a temperature-sensitive straw needs its own instructions.
Know when to replace parts

A damaged seal, persistent unexplained odor or cracked mouthpiece may justify replacing that component rather than repeatedly scrubbing it. Avoid using a visibly deteriorating drinking part.
Check for cracks around the mouthpiece, cloudy deteriorating plastic and seals that no longer seat properly. A damaged part can be harder to clean and may leak in a bag. Where possible, replace the affected lid or gasket rather than disposing of an otherwise sound bottle. Reassemble according to the maker’s instructions.
A Complete Clean of a Straw Lid
Some lids appear to be one piece but have a detachable straw, gasket and seal. Check the manufacturer’s exploded diagram before forcing the parts apart. For a design such as Hydro Flask’s Flex Straw Cap, the maker provides separate instructions to remove the straw and seal, clean the pieces and reassemble them after drying. Another brand may use different retaining tabs or parts that cannot be removed. Work over a clean tray so that small seals do not disappear down the sink. Inspect each piece for visible cracks or deformation before putting it back.
What if the Bottle Still Smells?
Remove the lid and smell the empty, dry bottle and lid separately. A trapped residue around the mouthpiece requires a different response from an odor throughout the bottle body. Wash the affected washable parts using the manufacturer’s compatible method, rinse thoroughly and air dry before sealing. If a rubber gasket has deteriorated or a crack cannot be cleaned properly, replacing the component may be more sensible than adding stronger chemical solutions. Do not use boiling water as an improvised sterilization step without checking temperature limitations.
A Daily Use and Storage Routine
When you finish with a reusable drinking bottle, empty remaining liquid, wash the pieces that contact the drink and let them dry instead of immediately closing the lid while wet. Straws and seals are easy to forget because they are small, but they are also harder to inspect once assembled. Keep the inside of the cap accessible during cleaning and use the correct size straw brush rather than forcing a hard object through a valve. A bottle that can be cleaned easily is more useful than an elaborate one you cannot maintain.
How to Reassemble Without Creating Leaks
After all parts are dry, put seals and the straw back only in the positions shown by the manufacturer’s instructions. An inverted gasket or partly seated tube can cause leakage even when the bottle itself is clean. Check the mouthpiece movement and perform a gentle leak test with water before carrying the bottle in a bag beside electronics.
A Practical Checklist to Finish the Job
After washing, inspect the mouthpiece, straw, seal and bottle interior individually. Rinse until cleaning residue is gone and allow each part to dry before putting the cap together. A quick leak test with clean water can reveal a gasket that was not seated correctly. Do not carry a freshly reassembled bottle beside electronics until it seals.
A cracked straw, damaged gasket or warped mouthpiece may need replacement rather than stronger cleaning. Check the maker’s compatible spare parts before discarding the entire bottle. Avoid boiling or household chemical combinations that exceed the product’s material limits, particularly around plastic valves and insulated components.
For keeping a reusable bottle in your regular training kit, see our 30-minute hotel gym workout guide.
Frequently Asked Questions
How often should I wash my reusable bottle?
Clean it regularly after use, especially the drinking surfaces and lid parts. Follow the bottle maker’s current instructions. Cleaning a drinking bottle supports the broader habit discussed in how much water men actually need each day.
Can a straw lid go in the dishwasher?
Only if that exact lid is dishwasher-safe. Lid and bottle body instructions can differ.
How do you clean a narrow straw?
Use a correctly sized straw brush and the method the manufacturer permits. Do not force tools through valves.
Why does my bottle smell even after rinsing?
Residual drink, moisture trapped around gaskets or incomplete cleaning can be responsible. Disassemble only parts meant to come apart.
Can I use boiling water in any bottle?
No. High heat can warp plastics, affect seals or damage insulated components. Follow the maker’s temperature limits.
The Bottom Line
A bottle can look clean from the outside and still collect residue around the mouthpiece, straw, seal and bottom edge. Careful inspection and ordinary maintenance will solve more daily problems than extreme shortcuts. Work from the actual source of the problem, respect the object’s construction and keep the process simple enough to repeat.